


 Where can I buy
- Chip tuning MS-Chip
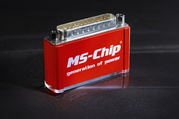 MS-Chip
Increase engine power
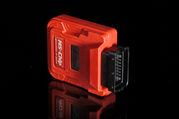 MS-Chip Sport
More power and capabilities
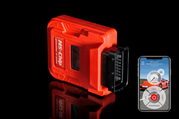 MS-Chip Sport BT
Block of increase in engine power
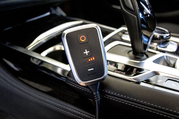 MS-Chip Speed Boost
Increase the response of the accelerator pedal
 MS-Chip Speed Boost BT
Increase the response of the accelerator pedal
- Selection by car
-

Alfa Romeo. -

Audi. -

Bentley. -

BMW. -

Cadillac. -

Chevrolet -

Chrysler. -

Citroen. -

Corvette -

Daihatsu -

Dodge -

Ferrari -

Fiat -

Ford -

Great Wall Motor. -

Hino -

Honda. -

Hyundai. -

Infiniti. -

Isuzu. -

Jaguar. -

Jeep. -

Kia. -

Lada. -

Lamborghini. -

Land Rover. -

Lexus. -

Lotus. -

Maserati. -

Mazda. -

Mercedes. -

MINI. -

Mitsubishi. -

Nissan. -

Opel. -

Peugeot. -

Porsche. -

Renault. -

Rover. -

Saab. -

Scion. -

Seat. -

Skoda. -

Smart. -

Ssang Yong. -

Subaru. -

Suzuki. -

Toyota. -

Volkswagen. -

Volvo.
-
- Setting
- Reviews
- Measurements
- Blog
Instructions for self-installation
Read the step-by-step instructions and install MS-Chip or MS-Chip Sport on your car

Step 1
Open the hood and close all doors to the center.
After this, it is necessary to wait 7-10 minutes for the car to turn off the power supply to the sensors.
Step 2
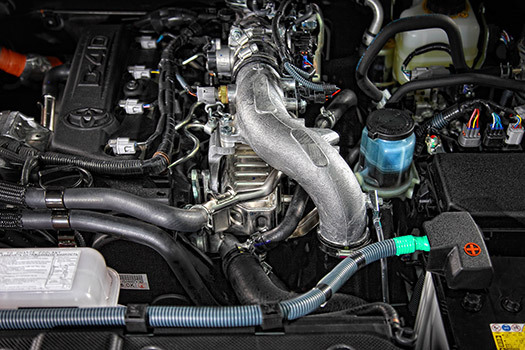
Remove the engine top cover, if necessary, before unscrewing the fixing bolts.

Step 3
Find the necessary sensors to connect.
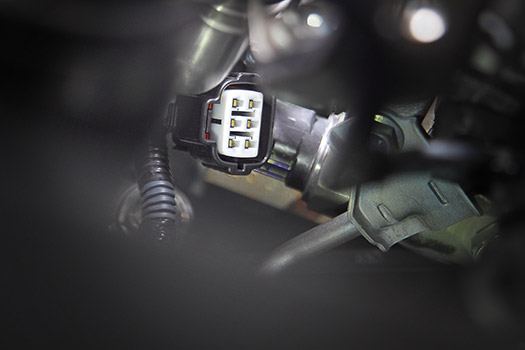
Step 4
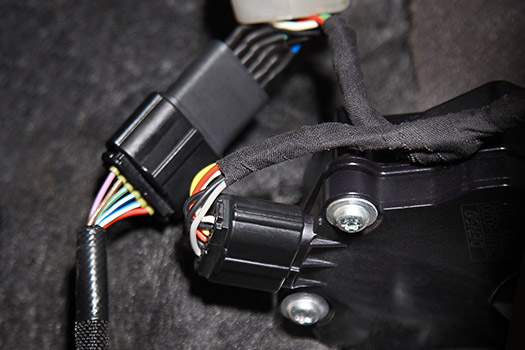
Disconnect the connector from the sensor.
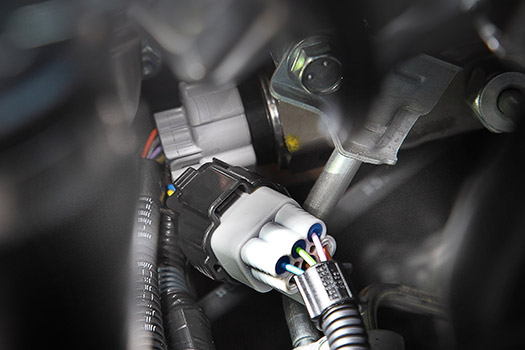
Step 5
Connect the cable from the power amplification unit to the sensor and the vehicle's standard connector.
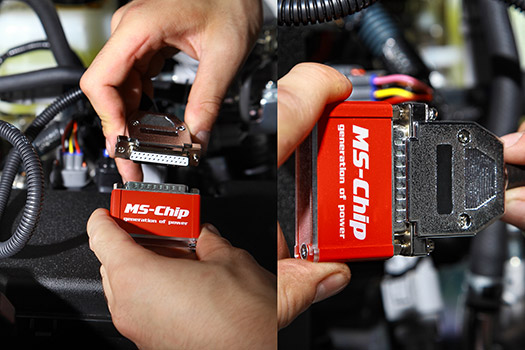
Step 6
Connect the MS-Chip to the connector on the cable.
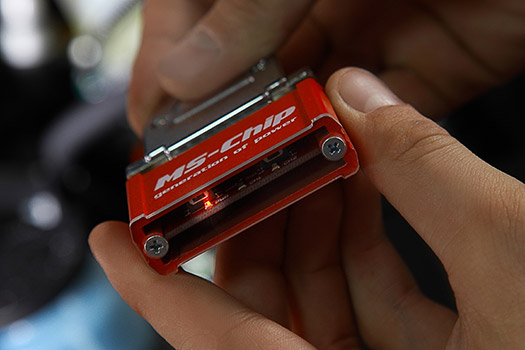
Step 7
Open the car and turn on the ignition, on the MS-Chip block the red LED will light, which indicates that the power increase unit is connected correctly.
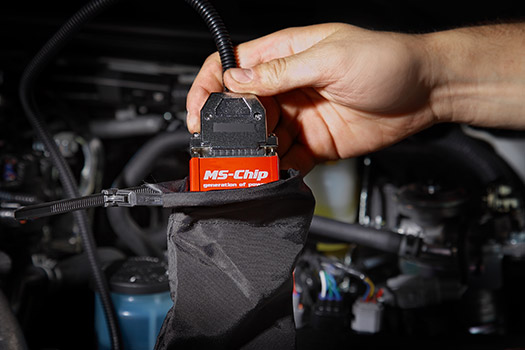
Step 8
Route the cable from the unit to the sensors in such a way that it does not touch the hot parts of the engine.
Video instruction for installing the MS-Chip unit on a BMW X6:
Video instruction for installing the MS Chip Sport unit on a Toyota Land Cruiser 200:
A video instruction for installing the MS Chip Sport unit on Toyota Land Cruiser Prado:
Read the step-by-step instructions and install MS-Chip Speed Boost на ваш автомобиль']; ?>
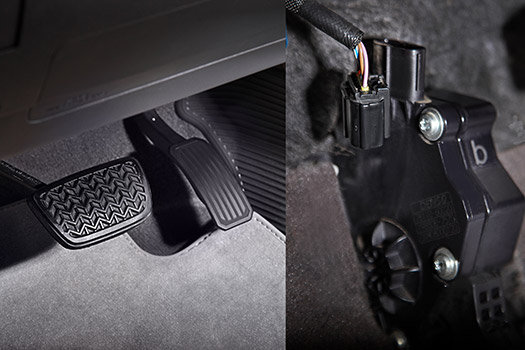
Step 1
Disconnect the standard connector from the gas pedal. If necessary, unscrew the fixing bolts.
Step 2
Connect the connectors from the Speed Boost to the gas pedal and the ground connector, previously disconnected from the gas drop.

Step 3
Turn the ignition on. The orange indicator on the remote control will light, indicating correct installation.
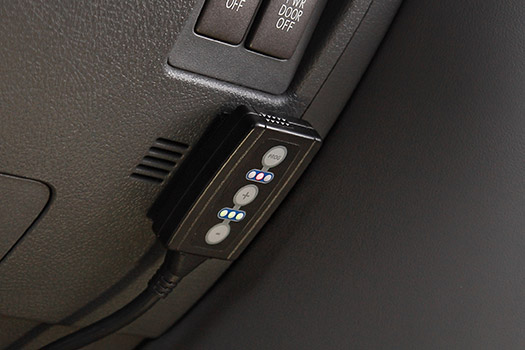
Step 4
Place the control panel in any convenient place, fixing it with sticky stickers.
A video instruction for installing the MS-Chip Speed Boost unit on a Land Rover Vogue car:

Frequently asked Questions
No, he can not. On modern engines manufacturers lay a large margin of strength and power.
You can use the chip unit regardless of the mileage. Chip-block can be used from the first kilometer, but we advise to follow the manufacturer's recommended run-in period. The main thing is to maintain a technically sound condition of the car.
Yes, the warranty for all MS-Chip products is 3 years.
The installation procedure is simple - everything is connected to the standard connectors. For more details on how to install MS-Chip blocks, please see our installation section.
Of course, the savings will be in keeping the driving style. A car with a block needs less time to set speed for comfortable traffic in the flow.
Yes, the MS-Chip blocks are designed in such a way that they can be installed by reading the installation instructions and not possessing special tools and & nbsp; knowledge. In some individual cases, with a complex installation, you can always contact our customer support for the necessary advice.